youcef3zino
عضو نشط
- إنضم
- 31 جويلية 2016
- المشاركات
- 76
- مستوى التفاعل
- 147
- النقاط
- 0
بسم الله الرحمن الرحيم
السلام عليكم ورحمة الله
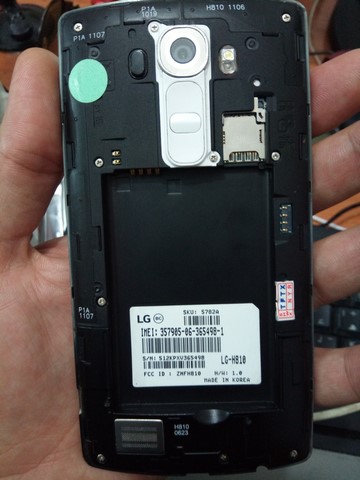
أنقل لكم إخواني طريقة إصلاح بوت هواتف LG G4 عن طريق بوكس Medusa لمن لا يعرف الطريقة الصحيحة وقد قمت بوضع الترجمة لمن لا يفهم اللغة الإنجليزية
قمت بطرح سؤالي لهم كتالي :
Hello i need Dump for my phone Lg G4 H810 AT&T
and method boot repair with MedusaPro
in menu supports for MEDUSA PRO i can find H810 module i find H815 and other ??
some body here can help me ??? PLZ
because im going to buy MedusaPro for this Problem
الترجمة
أهلا
أود الحصول على Dump لهاتفي LG G4 H810 AT&T مع طريقة إصلاح البوت ببوكس MedusaPro
في سيبورت البوكس لم أجد نوع الهاتف H810 وقد وجدت أنواع أخرى مثل H815 أرجو منكم المساعدة
لأنني بحاجة إلى إقتناء بوكس MedusaPro لهذا الغرض
فكان جوابهم كتالي :
Hello.
You can try to repair this phone via USB. To repair this phone via USB, try to do the following:
1. Install the latest Medusa Pro Software version (Medusa Box Downloads - Software, Drivers, Manual).
2. Select "USB" interface option in Software.
3. Select "Device (Core) : Qualcomm MSM8992".
4. Connect the phone in "Qualcomm...9008" Mode to PC.
5. Press "Connect" button.
6. When device will be connected successfully, make Erase Full flash (select "Full" option in Software and press "Erase" button).
7. Re-connect the device and make Factory Repair using the latest original LG firmware for this phone model (in "*.tot" or "*.kdz" format).
8. Disconnect the phone and try to put it into Download Mode (disconnect the cable, re-connect the battery, press and hold "Vol+" button and connect USB cable).
To repair phone via eMMC, try to do the following:
1. Install the latest Medusa Pro Software version (Medusa Box Downloads - Software, Drivers, Manual).
2. Download and install SRF (Smart Repair File) for H811 ("Download *.srf" button in Software).
3. Select LG H811 in the Software list (model will appear in Software list after SFR installation).
4. Solder all necessary eMMC wires accordingly to the pinout picture ("Help" or "Pinout" button in Software). eMMC pinout of H810 is similar to pinout of H811.
5. Connect the device to box and press "Connect" button.
6. When device will be connected successfully, make Erase Full flash (select "Full" option in Software and press "Erase" button).
7. Re-connect the device and make Factory Repair using the latest original LG firmware for this phone model (in "*.tot" or "*.kdz" format).
8. Disconnect the phone and try to put it into Download Mode (disconnect the cable, re-connect the battery, press and hold "Vol+" button and connect USB cable).
الترجمة
اهلا
بإمكانك تصليح هاتفك عن طريق USB. لتصليحه يرجى إتباع التالي
1- قم بتثبيت آخر إصدار لبرنامج MedusaPro
2- قم بإختيار "USB" في واجهة البرنامج.
3- قم بإختيار "Device Core " : Qualcomm MSM8992.
4- ثم بتوصيل الهاتف في "Qualcomm...9008"
5- إضغط على "Connecte"
6- لما يتم توصيل الهاتف بنجاح قم بحذف كل الفلاشة بالضغط على "FULL"
7- قم بنزع الهاتف و أعد توصيله وقم بفرمطته واستعمل الفلاشة الأصلية بإمتداد .tot او .kdz
8- قم بنزع الهاتف و حاول الدخول غلى وضع Download Mode إنزع الكابل و البطارية و أعد تركيبها و اضغط على زر رفع الصوت و أوصل الهاتف عن طريق USB
لتصليح الهاتف عن طريق eMMC تابع الشرح التالي :
1- قم بتثبيت آخر إصدار لبرنامج MedusaPro
2- قم بتحميل و تثبيت SRF و هي إختصار لـ Smart Repair File للموديل H810 بإمتداد .srf
3- قم بإختيار LG H811 في البرنامج من القائمة الهاتف يشبه H810 في جميع الأشياء
4- قم بتلحيم النقاط في eMMC بالإستعانة بالصورة الموجودة لهاتف H810 النقاط نفسها مع H810
5- قم بتوصيل الهاتف بالبوكس و اضغط على زر "Connect"
6- عندما يتم التوصيل بنجاح قم بمسح الهاتف من خاصية Erase Full Flash
7- إنزع الهاتف و قم بتوصيله مجددا وقم بإختيار Factory Repair مع إختيار الفلاشة الأصلية للهاتف
8- قم بنزع الهاتف وحاول الدخول من الهاتف لوضع Download Mode عن طريق الضغط على زر رفع الصوت وإيصال USB Cable
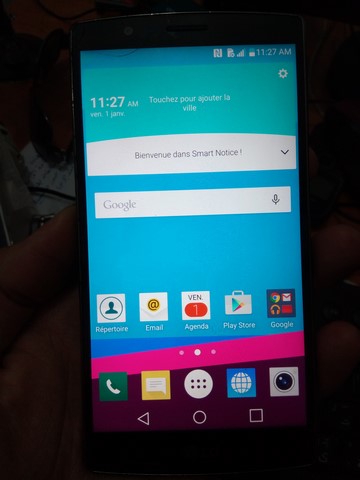
في الأخير هذا الموضوع لمن لا يعرف طريقة إعادة إحياء هذا الهاتف
و بارك الله فيكم جميعاا
:clap: